Photographing layer lines on purpose
3D printing sellers · July 9, 2026 · 4 minute read
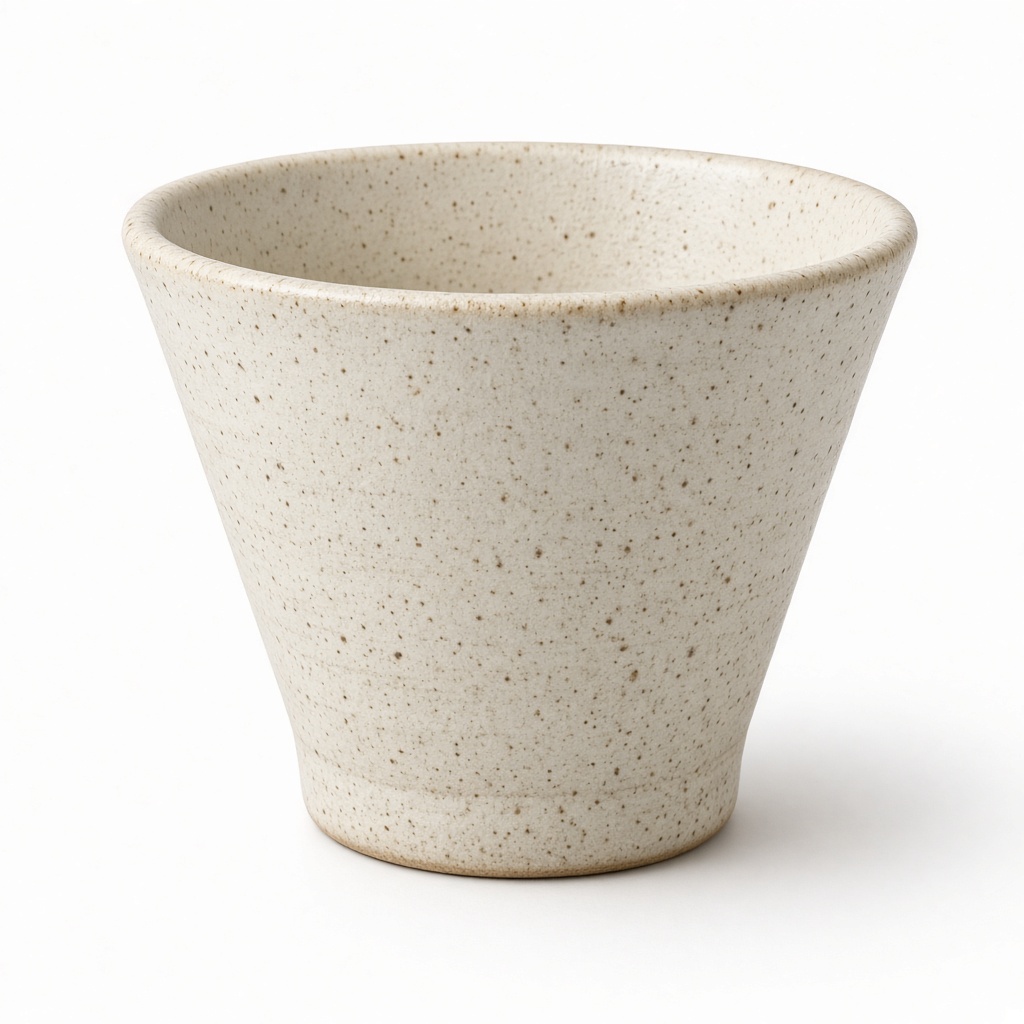
There is a reflex among print sellers to photograph in a way that hides layering: soft frontal light, slight blur, a distance that lets the stepping disappear. The reasoning is that layer lines look unfinished and smooth looks premium.
The reasoning is backwards, and the returns data shows it.
Layer lines are the honest signal
A buyer purchasing a printed object knows it is printed. That is not a secret you are keeping — it is in the listing title, the category and usually the price.
What layer lines do is confirm that what arrives will be what was photographed. A print listing illustrated with a perfectly smooth object sets up an expectation the parcel cannot meet, and the gap between expectation and delivery is exactly where refund requests live.
Sellers who photograph layering honestly report fewer condition complaints, for the straightforward reason that nobody is surprised.
The premium version of "printed" exists
There is a version of visible layering that reads as cheap and a version that reads as craft, and the difference is lighting rather than the print itself.
Cheap reads as: harsh overhead light, hard shadows in every groove, high contrast making the stepping look like corrugation, and usually a workbench in the background.
Craft reads as: soft directional light that catches the layer edges as a gentle texture, an even surface tone, and enough resolution that the buyer can see the layers are regular and consistent. Regular layering is a sign of a well-tuned printer. It is a quality signal if it is legible enough to read as regular.
The practical instruction: soft light, from one side, at a moderate angle. Enough to give the surface texture, not so raking that every layer becomes a ridge and a valley.
Photograph the layer direction deliberately
Layer lines run perpendicular to the print direction, which means their appearance changes dramatically with the angle you shoot from.
On a curved surface, layers along the curve produce the contour-map effect that looks best — regular, flowing, clearly deliberate. On a flat vertical wall they produce parallel bands. On a top surface printed flat, they may be nearly invisible.
Rotate the object and watch. There is usually one orientation where the layering reads as attractive texture rather than as stepping, and that is the hero angle.
Colour matters more than you would think
Layer visibility depends heavily on filament colour and finish.
Matte filaments hide layering; glossy ones exaggerate it, because each layer edge picks up a specular highlight. Light colours show it less than dark ones. Silks show it most of all, which is why silk prints photograph so dramatically and also why they photograph so unforgivingly.
If you sell the same model in several filaments, photograph each one rather than photographing one and describing the others. The visual difference between matte black and silk copper is much larger than the description suggests.
Show a close detail shot
Include at least one macro of the surface. Buyers who care about print quality want to assess layer consistency, and buyers who do not will ignore it.
This is also the shot that separates you from resellers who did not print the item themselves. A close, sharp photograph of your own layering is difficult to fake and easy to produce.
When smoothing is the right answer
None of this is an argument against post-processing. If you sand, prime and paint, then the product genuinely has no visible layers and photographing it smooth is accurate.
The rule is simply that the photograph must match the parcel. Sell it smooth, photograph it smooth. Sell it raw, photograph the layers.
Where sellers get into trouble is photographing a sanded prototype and shipping unsanded production, which is a different object.
What restaging preserves
Surface texture is among the attributes explicitly preserved when a photograph is restaged, which for this category is the whole point — a model left to itself will smooth a print into an injection-moulded object, because that is what most of its training data looks like.
Layer lines that were visible in your photograph stay visible. What changes is the workbench behind the object, the spool at the edge of frame, and the light. Which is what you wanted changed.