Photographing 3D prints
A print photographed badly looks exactly like the render it came from
Which is the one thing it must not look like. A buyer wants proof that a physical object exists, and layer lines are that proof.
Sized and staged for Etsy · Shopify · Instagram
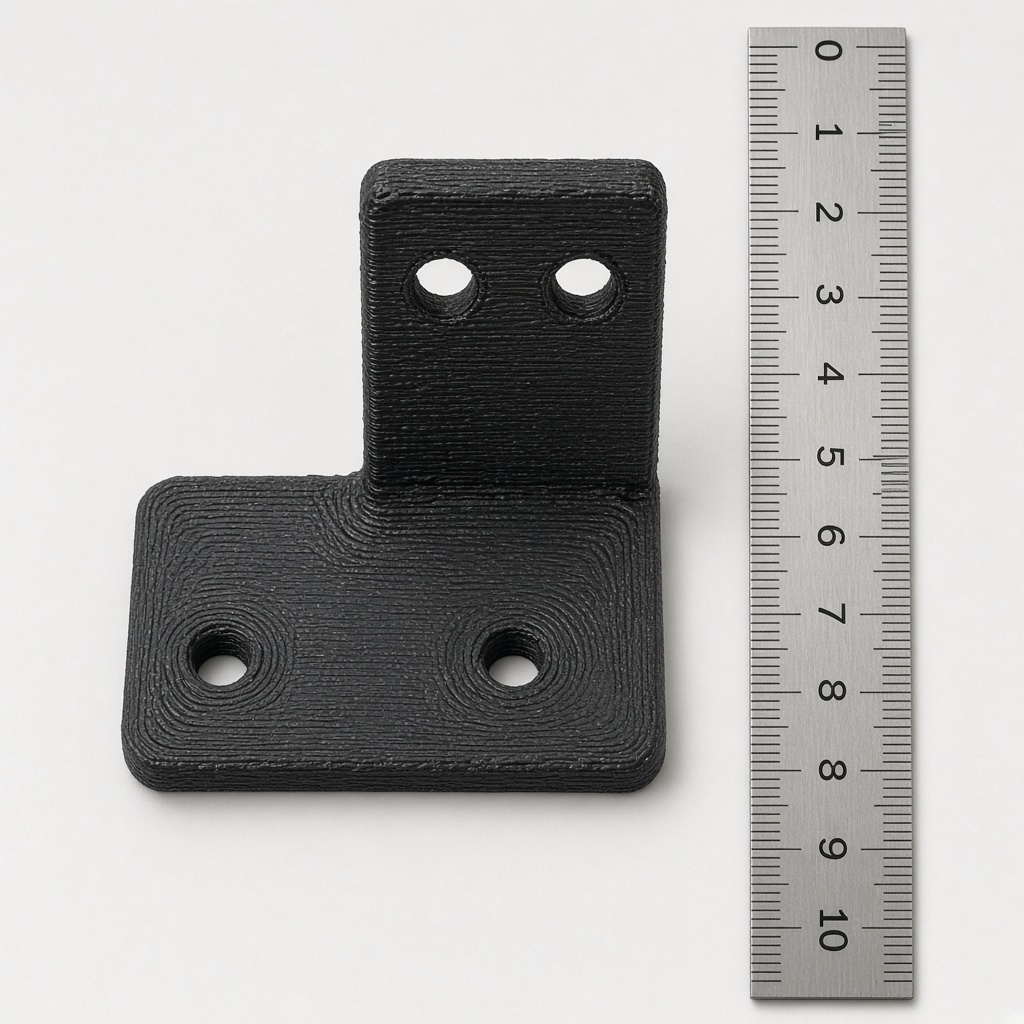
Printed goods have a credibility problem no other category has: the listing photograph could be a render, and often is. Buyers know this, and a suspiciously clean image reads as a picture of a file rather than a picture of a thing.
The counter-evidence is texture. Layer lines, the slight sheen difference where a support was removed, the faint tool mark from cleanup — these are the things that prove an object went through a printer and then through somebody's hands. Smoothing them away is the most common mistake and it costs the sale.
The second problem is scale, and it is worse here than anywhere. A printed dragon could be four centimetres or forty, the file says nothing, and "150mm" in a description does not become a picture in anyone's head.
Why your photos are costing you sales
Matte black PLA is the worst case of all, and it is also the most popular filament. It absorbs almost all the light it is given, so the print arrives as a silhouette with none of the geometry anybody printed it for.
Translucent and glittery filaments have the opposite problem: they need a light source behind or through them to do anything at all, and under flat frontal light an expensive translucent print looks like a cheap opaque one.
The scenes that suit your work
A handful chosen for what you sell, out of the full library.
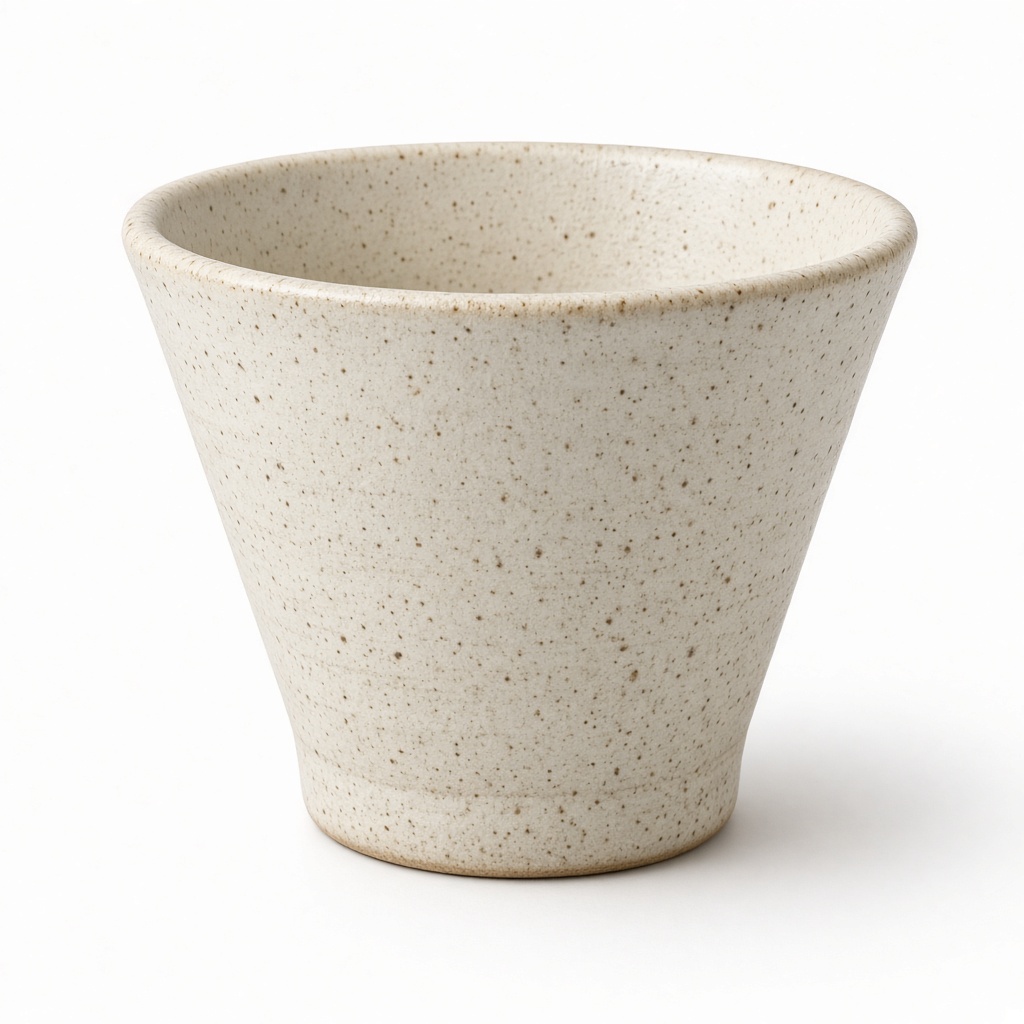
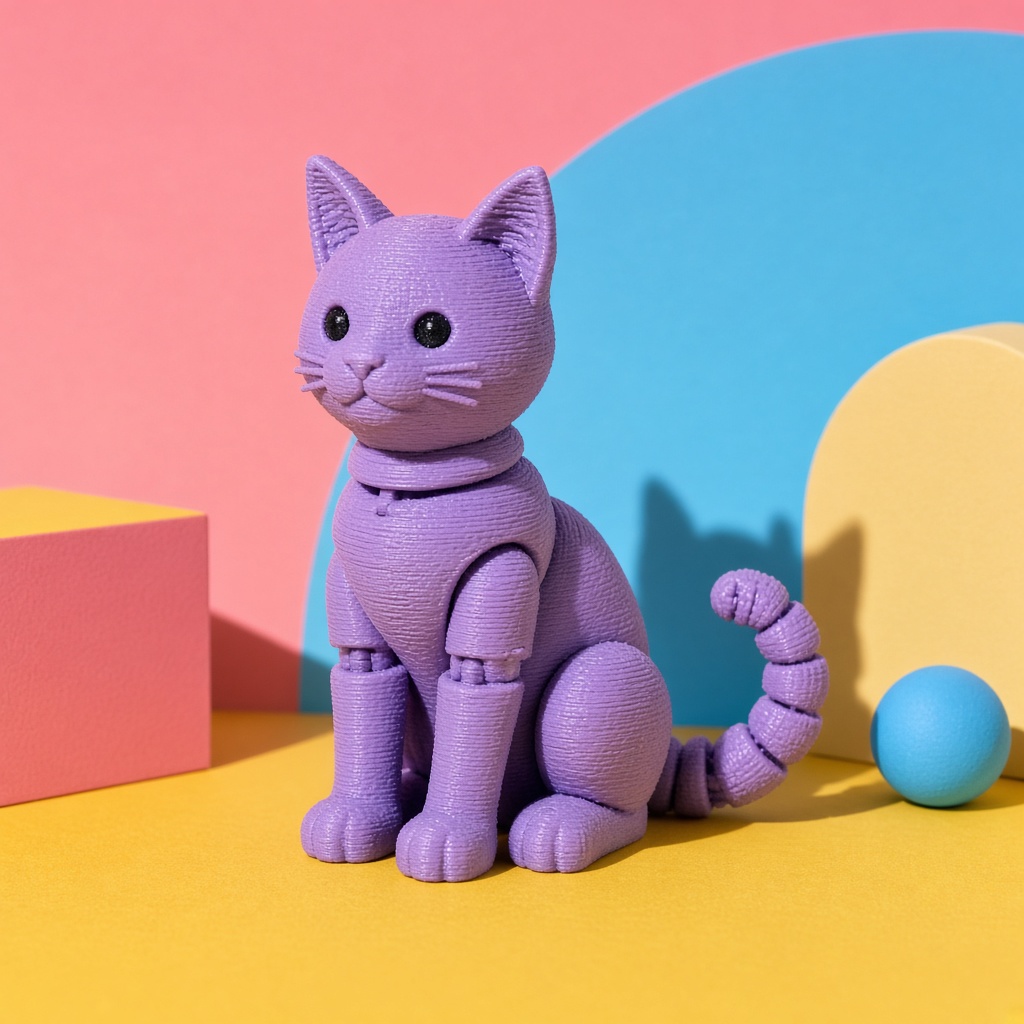
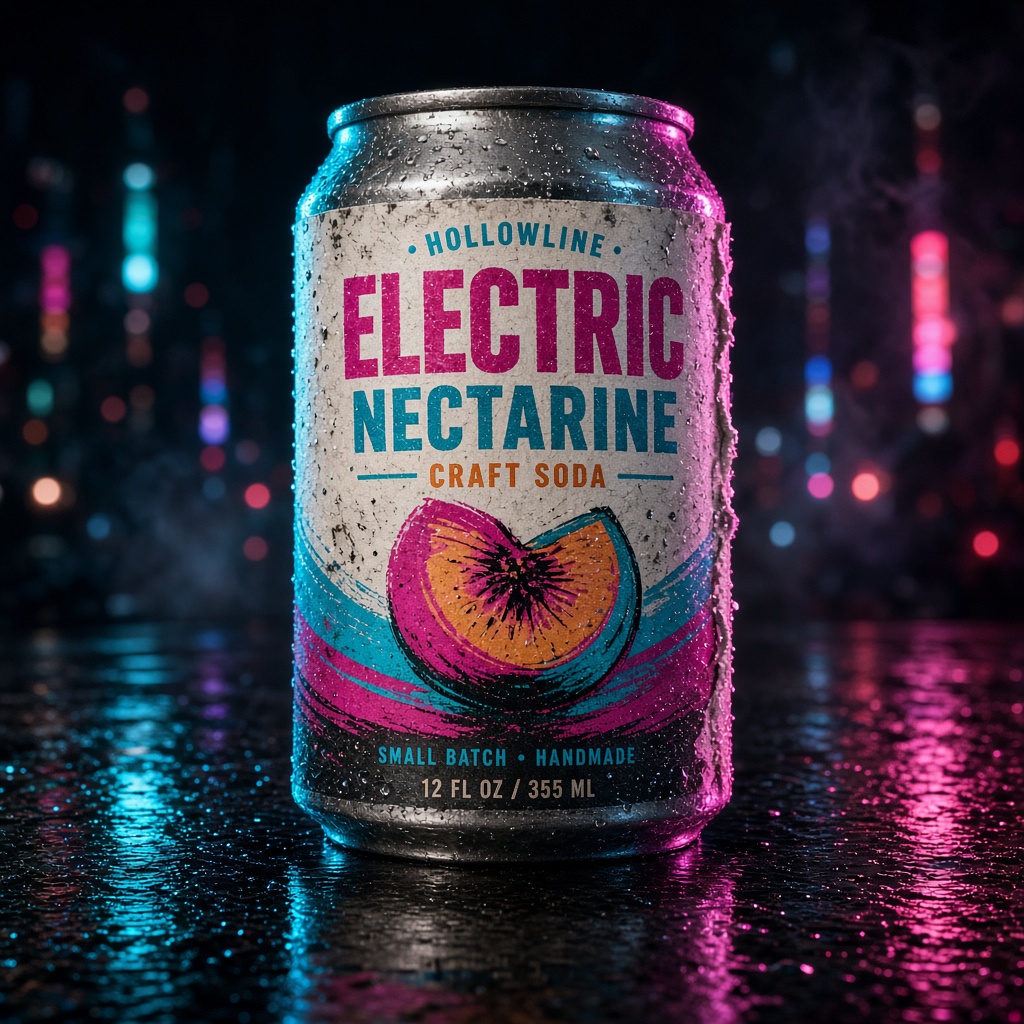
It has to still be your item
Put a ruler in it. The desk ruler scene is the least glamorous in the library and the most useful here — it settles the size question before it arrives as a message, and for functional parts it prevents the return as well.
For the object itself, raking light is what makes layer lines visible without making them ugly. Pure white is the marketplace answer. Pastel flat is the one that turns a range of printed figures into a grid that looks planned, which is what a shop with forty designs actually needs. And neon works genuinely well on translucent filament, because it finally gives the material something to do.
- Layer lines kept, which is the proof it is not a render
- Geometry visible on matte black instead of a filled silhouette
- Scale settled with a ruler, not with a number in the description
- A consistent grid across forty designs
Three steps, about a minute
01
Upload your photos
Two or three angles on a phone is plenty. We cut the background automatically.
02
Pick your scenes
Tick as many as you like from 56 staged settings, or describe your own.
03
Get your shots
They arrive together in your gallery, ready to download for a listing or a post.
Questions people ask before they sign up
- Should I hide the layer lines?
- No. They are the single most reliable signal that the photograph is of a real object rather than a render, and a buyer of printed goods reads them as evidence rather than as a flaw.
- What about supports I have not cleaned up?
- Clean them first. We reproduce what you send faithfully, which cuts both ways.
- Can I show a range in one shot?
- Photograph them together and we restage the group. Shooting them separately and hoping they match is what produces a grid that does not.
Also sells like you
A print photographed badly looks exactly like the render it came from
Start with 3 free images. No card, no account.
Try it free