Killing reflections on glass without a studio
Breweries, distilleries and wineries · July 19, 2026 · 4 minute read
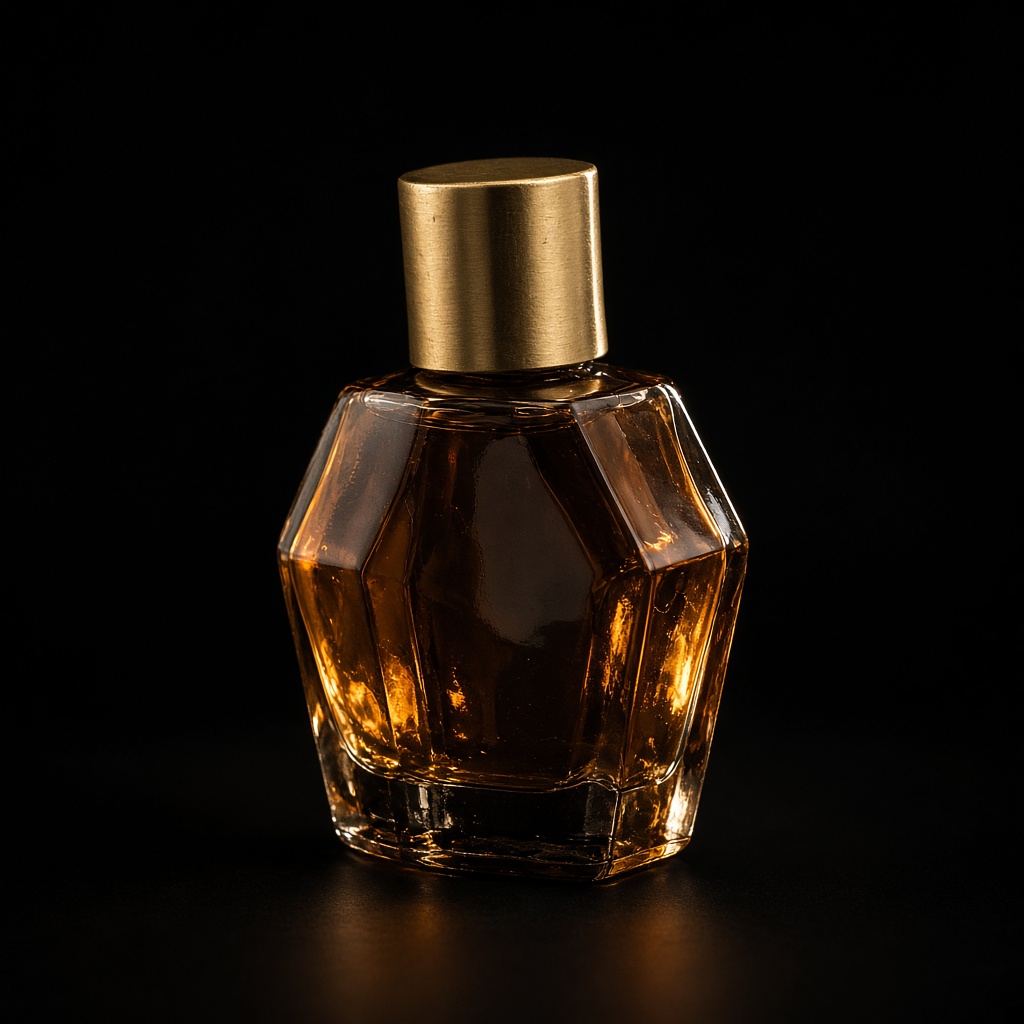
Glass photographs the room. On a flat surface that would be manageable, but a bottle is curved, which means it compresses a very wide angle of view into a narrow strip along its edge. Everything in front of the bottle appears somewhere on it, squeezed and distorted.
Studios solve this with large controlled surfaces on every side. You can approximate the important parts with card.
Flags: the two-card technique
Take two large pieces of card and stand them either side of the bottle, just out of frame, angled slightly toward the camera. These are called flags, and they replace the room in the bottle's reflection.
White flags produce bright edge highlights. The bottle looks clean, fresh and commercial — right for lager, white wine, anything positioned as refreshing.
Black flags produce dark edge lines that define the shape against a lighter background. The bottle looks weighty and premium — right for stout, red wine, spirits.
You can mix: white one side, black the other, which gives a bright edge and a dark edge and reads as three-dimensional. This is the standard drinks-photography look and it is achievable with two pieces of card from a stationery shop.
Move yourself, not just the light
The photographer is a large dark object directly in front of the bottle, and on a glossy black or dark green surface you will often find yourself in the shot.
Two fixes. Shoot from further back with a tighter crop, which reduces how much of the reflection you occupy. Or cut a lens-sized hole in a white card and shoot through it, so the bottle reflects card rather than you.
The second sounds fussy and takes two minutes. It is the difference between a usable photograph and one where a human shape sits in the shoulder of every bottle.
Kill the overheads
Ceiling lights produce a bright band across the top curve of a bottle and a hard reflection on any horizontal glossy surface below it.
Turn them off. Work with one directional source. This is repeated advice across every category on this site and it is repeated because it is the single most effective change available in almost every situation.
Polarising, if you have the option
A polarising filter cuts reflections from non-metallic surfaces, including glass, and it is genuinely effective. On a phone this is harder — clip-on polarisers exist and vary in quality — but if you shoot with a camera that takes filters, one circular polariser will do more for glass photography than any other purchase at that price.
Rotate it while watching the screen. There is an angle where the reflection drops away substantially. It will not remove everything, and it costs you a stop or two of light, but for wine and spirits it is worth carrying.
Wipe the bottle
Obvious, universally skipped. Fingerprints on dark glass are invisible in the room and glaringly bright in a photograph with directional light on it.
Wipe with a microfibre cloth immediately before shooting, handle by the neck or base afterwards, and check the screen at full zoom before you commit to a setup.
Check at full magnification before you shoot the range
If you are photographing twelve bottles in one session, spend two minutes on the first one and inspect it closely on screen. A reflection you did not notice will be in all twelve otherwise, and you will discover it after the session.
What staging can and cannot remove
Restaging removes the background behind the bottle cleanly, so the room disappears from the frame. What it does not do is remove reflections sitting on the glass itself, because those are part of the object as your camera recorded it — the surface genuinely contains an image of your kitchen.
The two pieces of card come first. Everything after that is presentation.